When changing from a CAD that you are used to using, it is important that designers be able to have the same operability.
By creating an optimal user environment for designers with the Toolbar Menu, design work can proceed efficiently.
You can freely customize the Toolbar Menu. You can add and delete Toolbars, and add and delete menus.
Created Toolbars can be docked on the screen or can float in a convenient location for usage.
Toolbar Menu

The following will explain how to customize the menu.
* For each operation for customizing the menu, perform customizing after going to "Customize Menu" Mode in Customize Menu.
- Customizing Menus
- Adding Menus
- Changing the Menu Order
- Deleting Menus
- Returning to the Default Settings
How to Customize
| The following will explain the how to execute Customize Menu. |
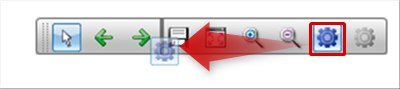
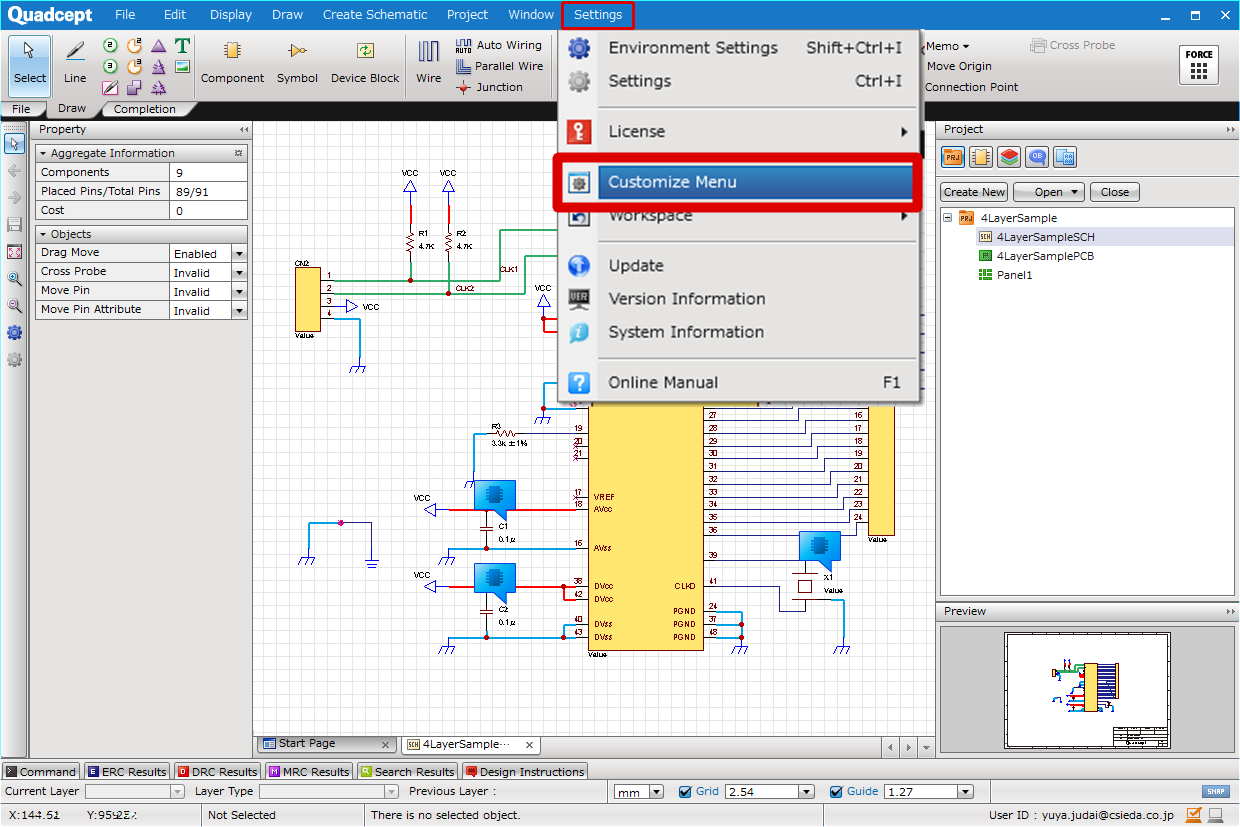
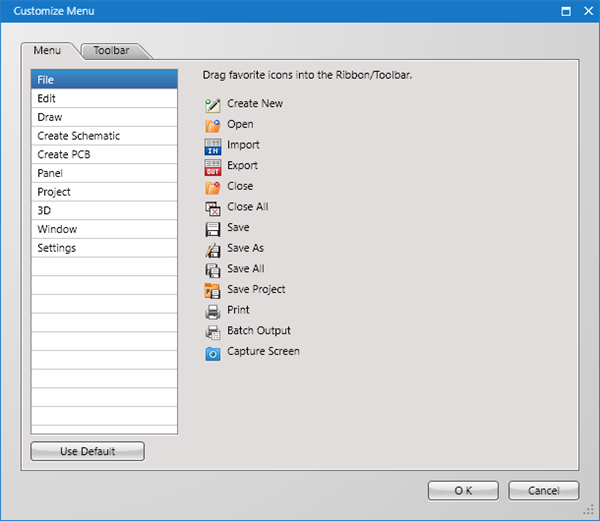
| (1) |
Click [Settings]
=> [Customize Menu]. |
|
 |
| |
The Customize Menu screen will open. |
|
 |
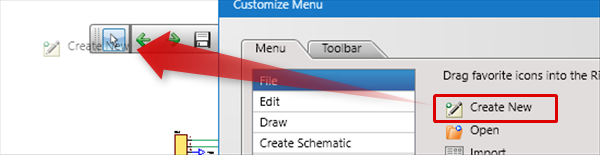
| The following will explain how to add new menus. |
| (1) |
From the Customize Menu dialog, select an icon, and drag and drop it to move it to the Ribbon. |
|
 |
| The following will explain how to switch the menu order or change the position. |
| The following will explain how to delete unnecessary menus. |
| (1) |
Drag a menu icon off of the Toolbar Menu |
|
|
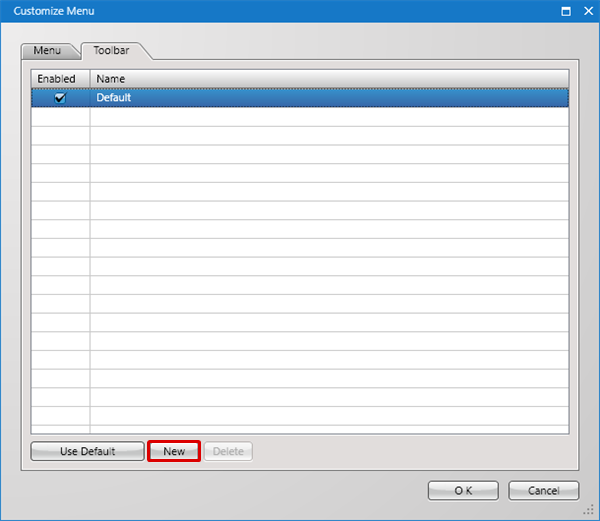
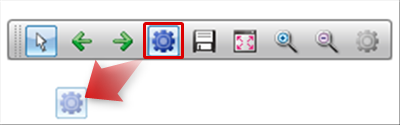
If the existing Toolbar is insufficient, you can add new Toolbars.
The following will explain how to add Toolbars. |
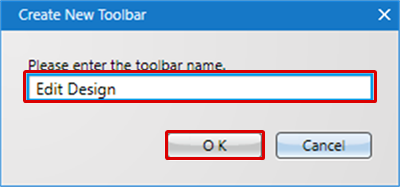
| (2) |
Input a Toolbar name, and then click "OK". |
|
 |
| |
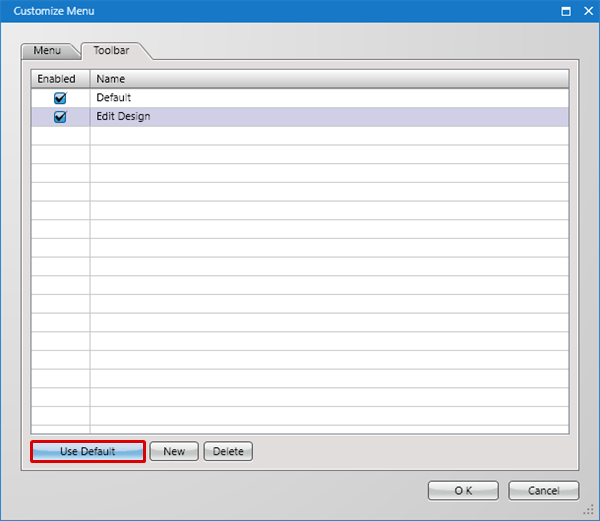
A blank Toolbar will be added. |
|
 |
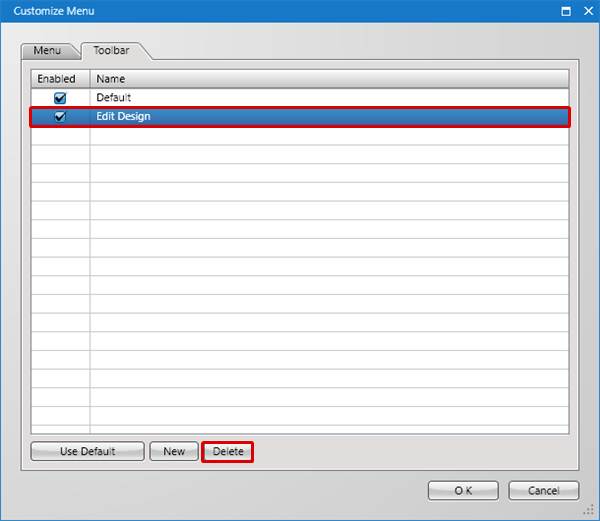
| The following will explain how to delete unnecessary Toolbars. |
| (1) |
Select the name of the unnecessary Toolbar, and then click "Delete". |
|
|
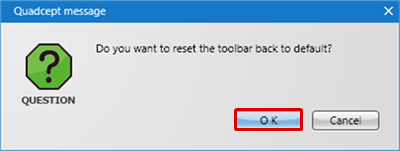
| (2) |
| In the deletion confirmation screen, click "OK". |
|
|
 |
| To return to the initial default settings, click the "Use Default" button. |
| (2) |
A dialog will appear. Click "OK". |
|
 |