

Schematic Capture : Creating Drawing Frames
Creating Drawing Frames
The following will explain how to create drawing frames and how to set drawing frames in a schematic.
The drawing frame is the frame of the drawing used for a schematic.
Created drawing frames can easily be shared, so it is convenient if they are prepared in the in-house document format.
In addition, it is a standard printing range for when printing a schematic.
The following will also explain Drawing Frame Macro Attributes for automatic transfer of Page No., File Name, Saved Date/Time, and Print Date/Time, etc., which is convenient for document creation.
Creating Drawing Frames
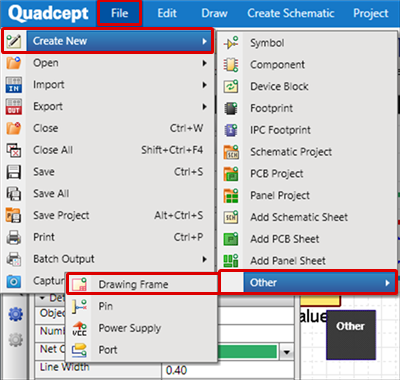
First, the following will explain how to create a new drawing frame.
| Creating a New Drawing Frame |
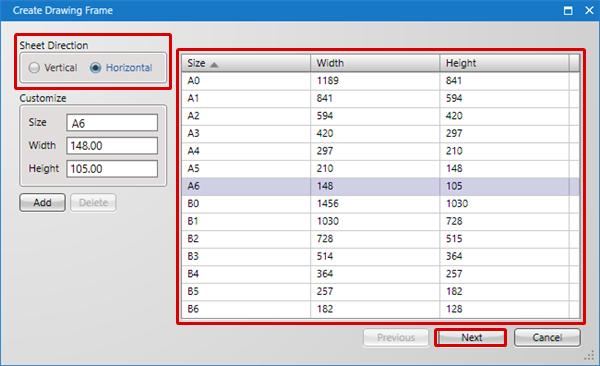
| The following will explain how to create a new drawing frame. With Quadcept, it is possible to create your desired drawing frame by inputting values according to the Wizard for the Drawing Frame. |
|
 |
|
 |
|
 |
|
 |
|
 |
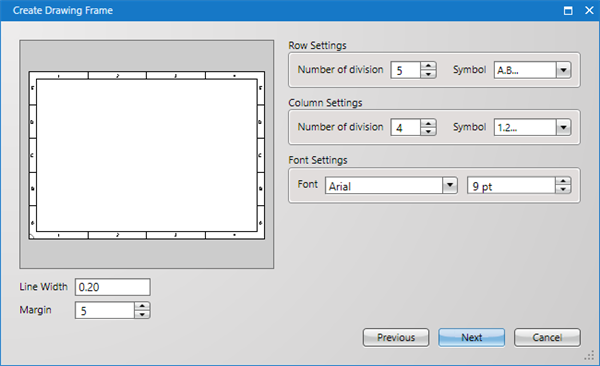
Drawing Frame Wizard Settings
The following will explain the contents of each setting for the Drawing Frame Wizard.
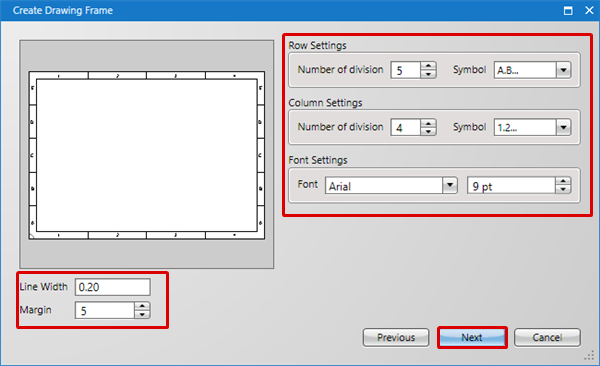
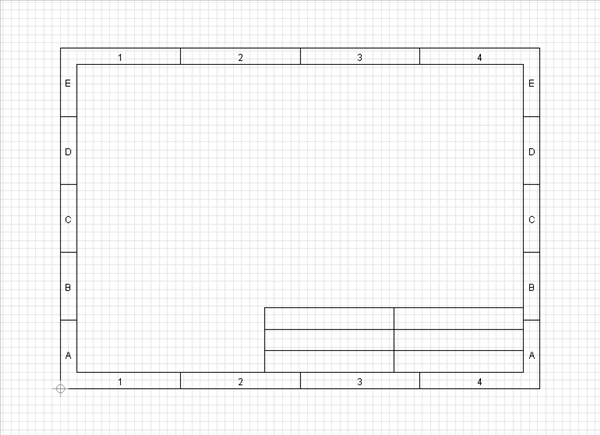
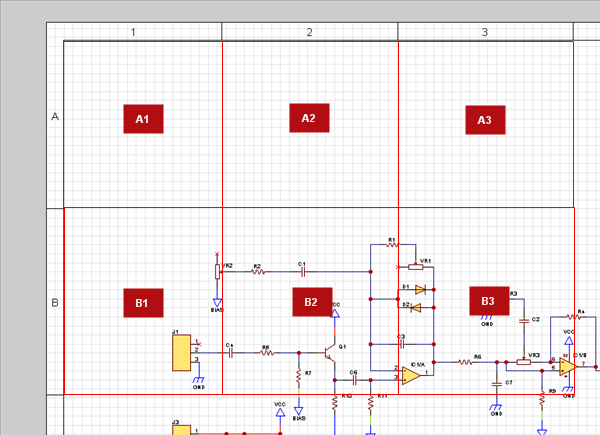
Reference Frame Settings
This is the address on the schematic expressed using alphanumeric characters written on the outer frame of the drawing frame.
The address is written as the reference position for objects, etc., in the ERC/DRC results, Search Results, and Port Address.
Reference Frame Example)
| Item | Sub Item | Content |
|
Line Width |
Sets the reference frame line width. |
|
|
Margin |
Sets the frame width for the reference frame. |
|
|
Row Settings/Column Settings |
Number of division |
Sets the number of divisions for the reference frame. |
|
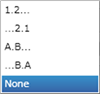
Symbol |
Sets symbol assignment from "1.2... .", "... 2.1", "A.B ...", "... B.A", "None". |
|
|
Font Settings |
Font |
Sets the symbol font for the reference frame. |
|
Size |
Sets the symbol text size for the reference frame. |
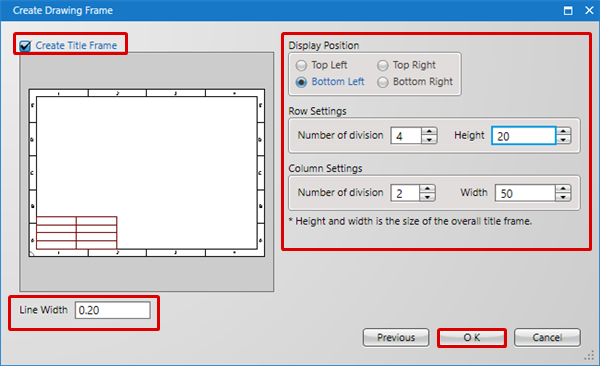
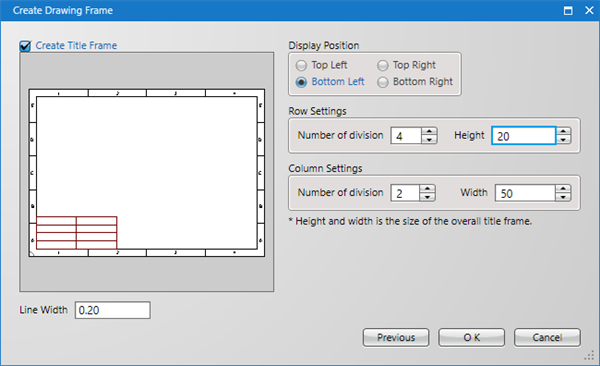
Title Settings
| Item | Sub Item | Content |
|
Create Title Frame |
Selects whether to create a title frame. |
|
|
Line Width |
Sets the title frame line width. |
|
|
Display Position |
Selects the title frame position from "Top Left", "Top Right", "Bottom Left", and "Bottom Right". |
|
|
Row Settings/Column Settings |
Number of division |
Sets the number of divisions in the title frame. |
|
Height |
Sets the total height of the title frame. |
|
|
Width |
Sets the total width of the title frame. |