

PCB Layout CAD : Draw
Drawing Filled Polygons
Filled Polygon is used to express a complicated filled figure. It is used to draw silks and outlines, etc., using non-electrical objects.
The following will explain each operation for drawing a filled polygon.
Selecting the Filled Polygon Menu
Drawing a Filled Polygon
Changing the Corner Angle
Switching the Angle
Pushback Filled Polygon
Changing the Corner Shape
Editing Properties (Layer, Line Width, etc.)
Canceling a Filled Polygon
Exiting Filled Polygon Mode
Selecting the Filled Polygon Menu
[Draw] Select => [Filled Polygon]
There are several other ways to perform this. Refer to About Executing Menus.
Drawing a Filled Polygon
After selecting the Filled Polygon Menu,
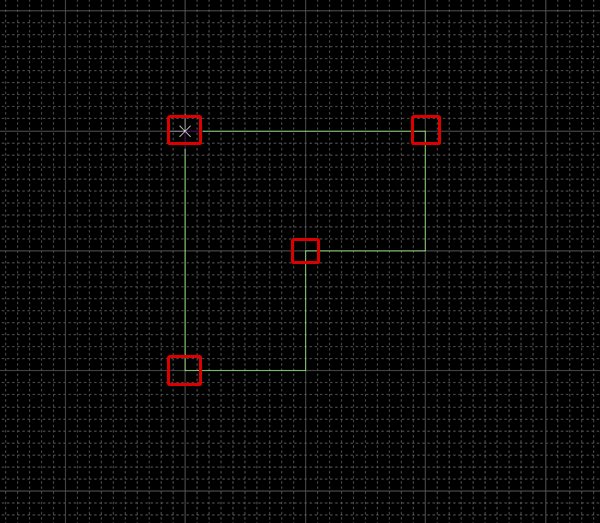
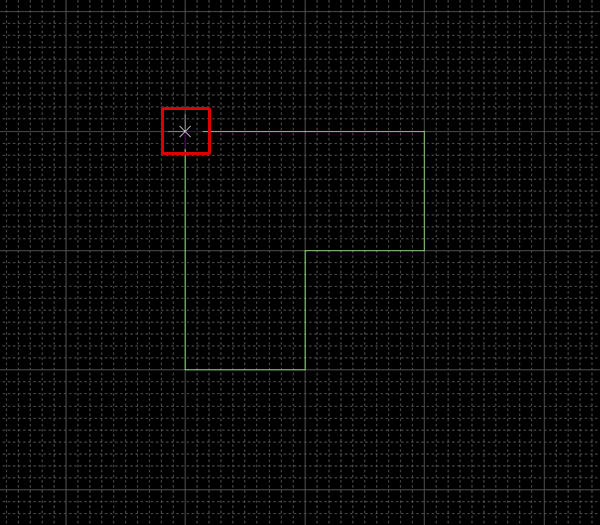
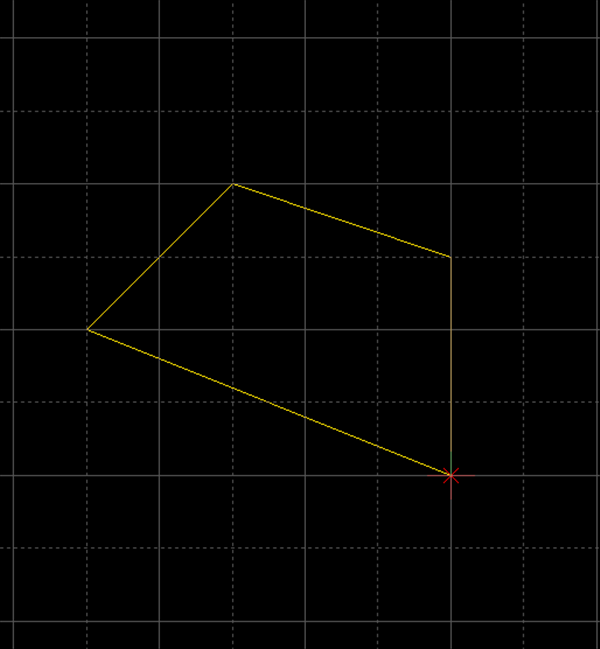
STEP 1: Click the Start Point
STEP 2: Click each configuration point (Repeat according to the number of configuration points.)
STEP 3: Double-click the End Point
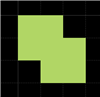
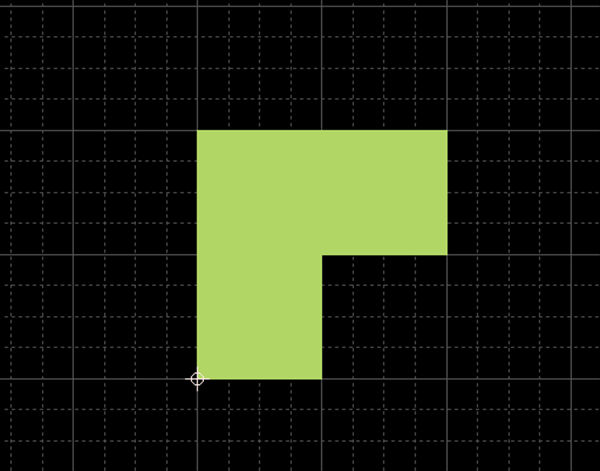
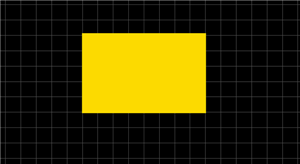
| Drawing a Filled Polygon |
| The following is the operation for a filled polygon. |
|
|

|
 |
|
 |
|
 |
Changing the Corner Angle
The corner angle can be changed freely.
Corner Bending Angle
| 45 degrees | 90 degrees | Free |
|
|
|
|


The following is the operation for changing the corner bending angle.
Method 1: Right click, Select => [Change the Bending Angle]
Method 2: Press "S" on the keyboard
* It can also be confirmed and changed from the Property Window.
Switch Angle
| Before Switching | After Switching |
|
|
|
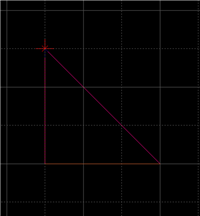
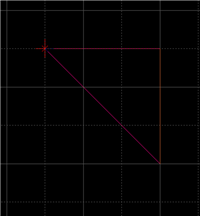
The following is the operation for switching the angle.
Method 1: Right click, Select => [Switch Angle]
Method 2: Press "X" on the keyboard
* It can also be confirmed and changed from the Property Window.
Pushback Filled Polygon
When creating a filled polygon, you can return the corner to the previous status.
| Before Pushback | After Pushback |
|
|
|
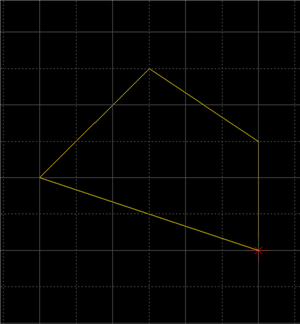
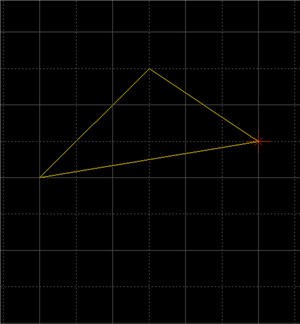
The following is the operation for executing pushback.
Method 1: Right click, Select => [Pushback]
Method 2: Press "Back" on the keyboard
Changing the Corner Shape
The Corner Shape can be toggled between "Line (Angle)" and "Arc", and when the Corner Shape is "Arc", the Arc Length can be easily adjusted.
For more details, refer to Toggling the Corner Shape.
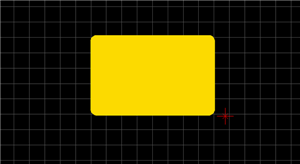
| Corner Shape (Line) | Corner Shape (Arc) |
|
|
|
Editing Properties (Color, Line Style, etc.)
It is possible to edit the Line Width and Layer, etc.
The following is the operation for editing.
STEP 1: Edit values in the Property Window
It is applied to the whole filled polygon before it is determined.
Canceling a Filled Polygon
When creating a filled polygon, it is possible to return to the status before drawing by canceling the filled polygon being created.
| Before Canceling | After Canceling |
|
|
|
The following is the operation for executing pushback.
Method 1: Right click, Select => [Cancel]
Method 2: Press "Escape" on the keyboard
Exiting Filled Polygon Mode
The following is the operation for exiting Filled Polygon mode.
When not creating a filled polygon,
Method 1: Right click, Select => [Cancel]
Method 2: Press "Escape" on the keyboard