The following will explain each operation of the Edit Label Function.
Moving a Label
Deleting a Label
Copying a Label
Editing Attributes
Moving a Label
Labels can only be placed on wires. They cannot be placed at a position where there is no wire.
Drag Move
Moving From Move Mode (Right click => Click [Move Selected Objects])
Move the Move Grid ***
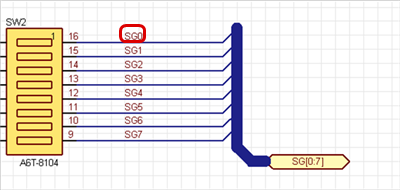
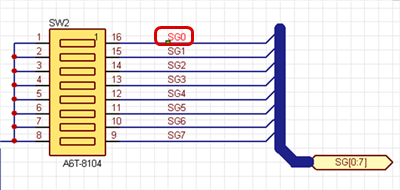
■ Move Pattern 1
| Before Moving |
After Moving |
|

|
 |
Deleting a Label
The following is the operation for deleting.
Select and press the Delete key.
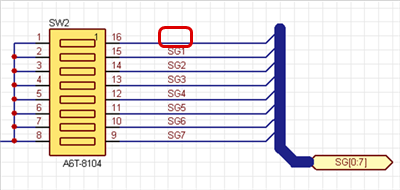
| The following will explain how to delete a label. |
| (1) |
Select the label that you want to delete. |
| (2) |
Press the Delete key. |
|
 |
| |
The selected label will be deleted. |
|
 |
Copying a Label
STEP 1: Select the label that you want to copy, Right click => [Copy] (This can also be done using the Shortcut Key "Ctrl + C".)
STEP 2: Right click => [Paste] The label copied to the cursor will be displayed.
STEP 3: Click the location where you want to place it.
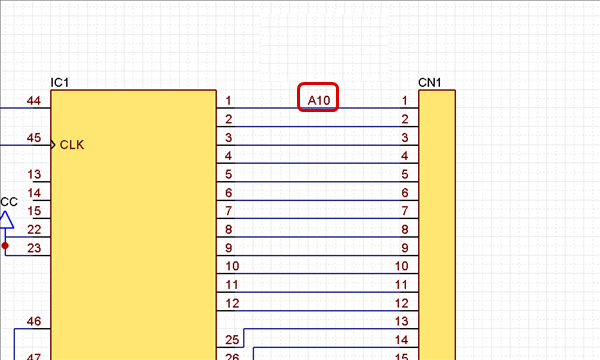
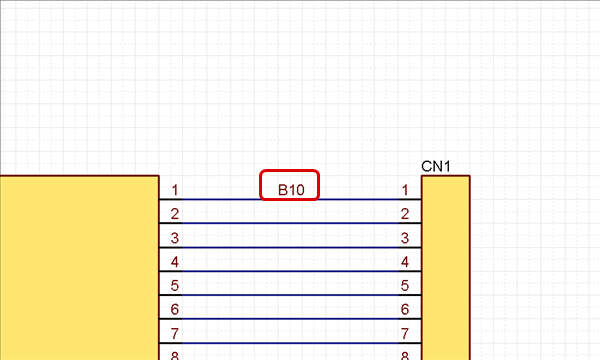
Editing the Label Name
Edit the placed Label Name. When the Label Name is edited, the Net Name of the wire is also updated.
There are the following methods for editing labels.
Method 1: Editing from the Attribute Screen
Method 2: Editing from the Property Window
| The following will explain how to edit from the Attribute screen of the double-clicked label. |
| (1) |
Double-click a label
=> The [Place Label dialog] opens. |
|
 |
| (2) |
Input a "Label Name". |
| (3) |
Click "OK". |
|
 |
| |
The Label Name will be changed. |
|
 |
| The following will explain how to edit from the Property window. |
| (1) |
Click a label
=> The Label properties will be shown in the [Property Window]. |
|
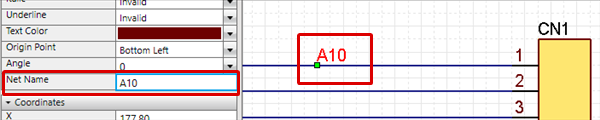 |
| (2) |
[Property Window]
=> Input a Label Name in "Text",
and then use the Enter key to determine it. |
| |
The Label Name will be changed. |
|
 |

