This is the display type where windows can be moved individually. This allows you to perform design work efficiently with multiple monitors.
The following is the operation for changing from docking to floating.
Floating
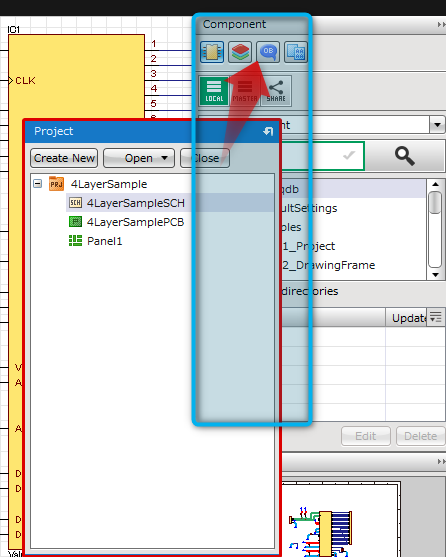
The following will explain how to make a window float.
Drag Move the window "Icon"
The status will change to a floating window.
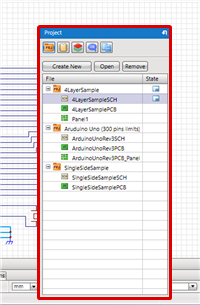
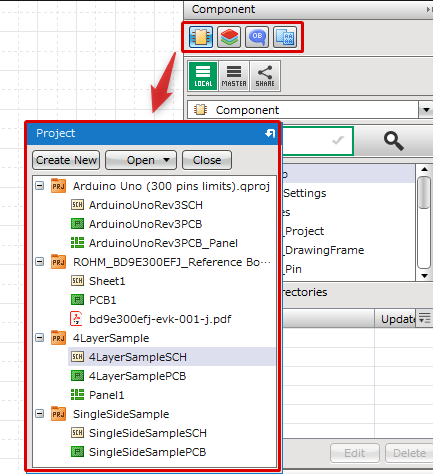
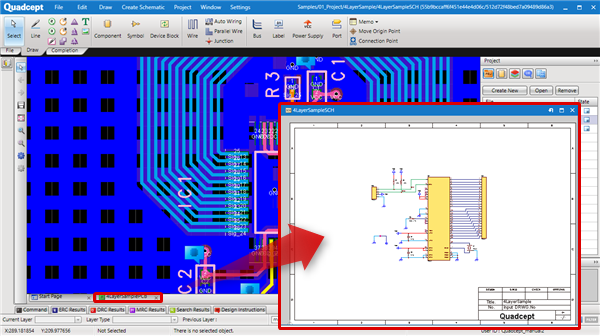
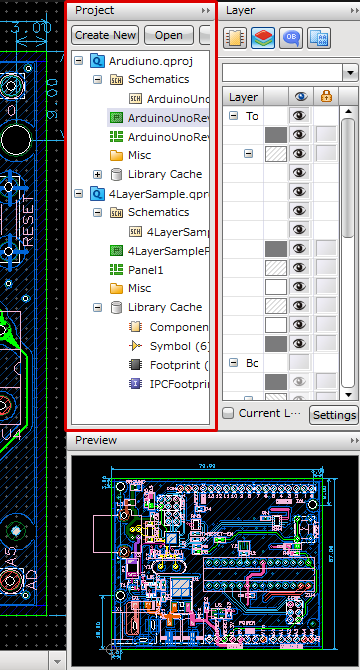
About the Document Area
Similarly, the document area can also be made to float.
To make it float, drag the document tab portion.
To move/dock it, drag the document title bar.
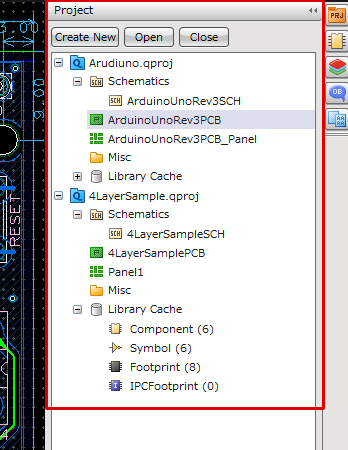
Docking
This is the display type where the window is connected to the Main Window, and all move together.
This allows you to perform design work efficiently in a single window.
There are the following methods for changing from floating to docked.
Docking Using the [Return to the Original Position Button]
The following will explain how to dock a window using the "Return to the Original Position" button.
By pressing the "Return to the Original Position" button, the window will return to the previous docked position.
(1)
Click [Window Header]
Click => [Return to the Original Position]
button
It will return to the previous docked position.
Docking Using Drag Move
You can dock a window by dragging and moving the Window Header.
There are two types of docking; a method for docking all, and a method for docking by dividing.
When docking all, a "Red frame" is displayed while docking.
When dividing and docking, a "Blue frame" is displayed while docking.
You can dock a window at an arbitrary position by dragging the Window Header.
It is also possible to dock floating windows.
(1)
Drag the Window Header, and release the mouse button when a red frame is displayed.
(2)
Docking is done for all.
Docking Using Drag Move (Divide and Dock)
You can dock a window at an arbitrary position by dragging the Window Header.
It is also possible to dock floating windows.
(1)
Drag the Window Header, and release the mouse button when a blue frame is displayed.
(2)
It is divided and docked.
About the Toolbar
The Toolbar does not have a Docking button. It can be docked anywhere at the top, bottom, left, or right by dragging and moving.
* To make the Toolbar float, drag the Header portion (red frame in the right picture).
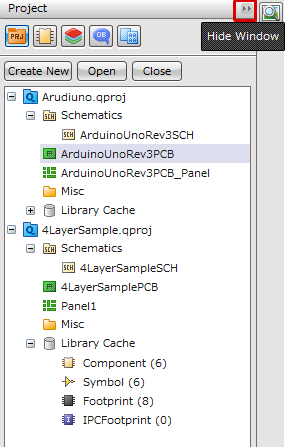
Auto Hide
This is the display type where a window is automatically hidden and only the tab remains when a docked window is not used.
This allows you to widen the design work area so that you can work easily even when using a low-resolution monitor.
Widows that are automatically hidden can be enabled for use by placing the cursor on the tab.
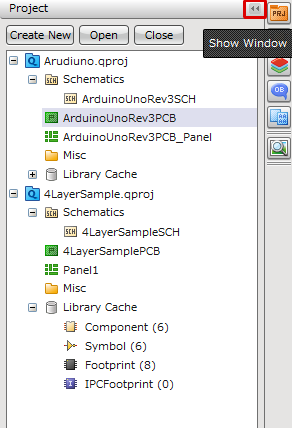
Auto Hide (Hidden Status)
Shown when the cursor is placed on the icon
In addition to the windows docked on the right side, "Auto Hide" can also be used for the windows on the left or at the bottom.
Auto Hide
The following will explain how to toggle a docked window to Auto Hide.
(1)
Click [Window Header]
=> [Hide Window]
Display the Window
The following will explain how to toggle a docked window that is automatically hidden to Show Window.