Although Netlists can be read and Schematic Nets can be read using Transfer to PCB, there are cases when there is no Netlist or when a Net is added by adding a component, etc.
Net Information is very important. Therefore, handle it carefully.
The following will explain how to add Nets.
- Adding Using the "Add Net" Menu
- Specifying a Net Name to an Object
| The following will explain how to add a Net using the "Add Net" menu. |
| (1) |
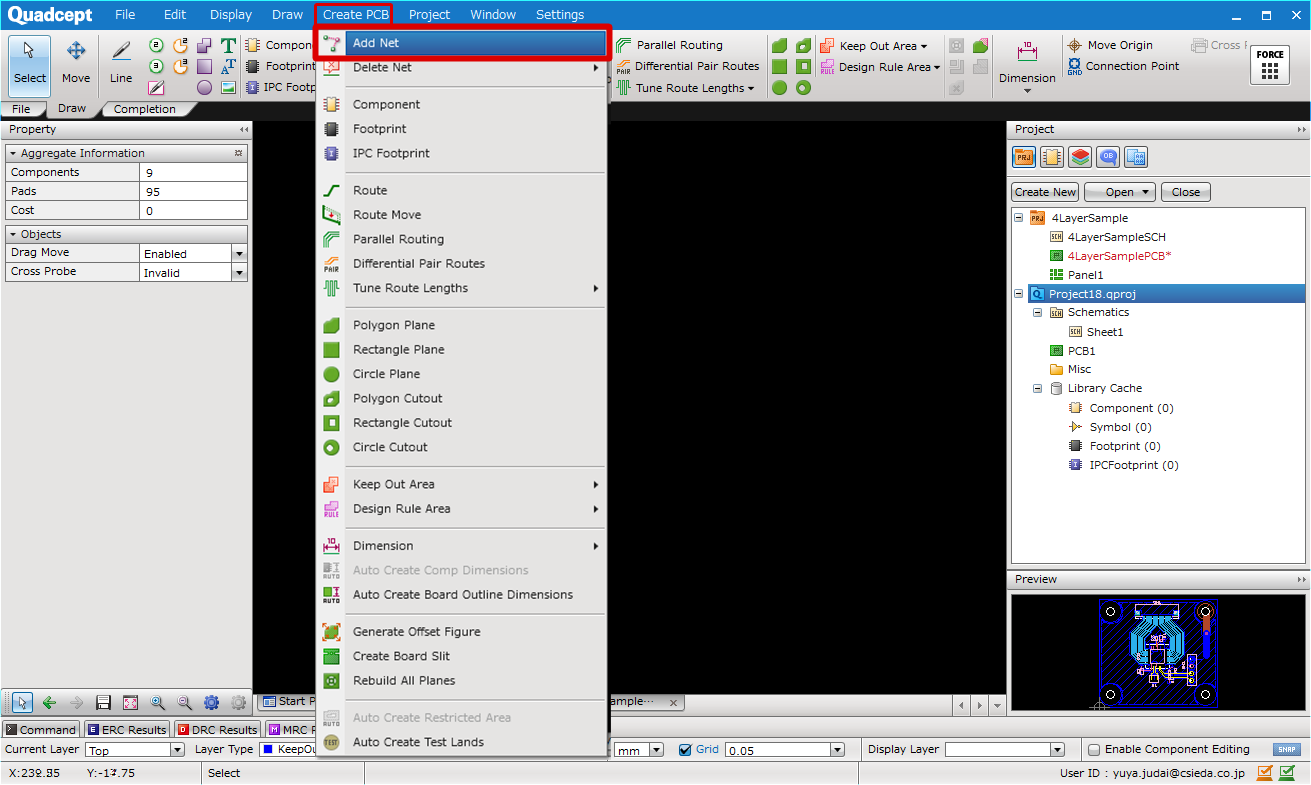
Select [Create PCB] => [Add Net]. |
|
 |
| (2) |
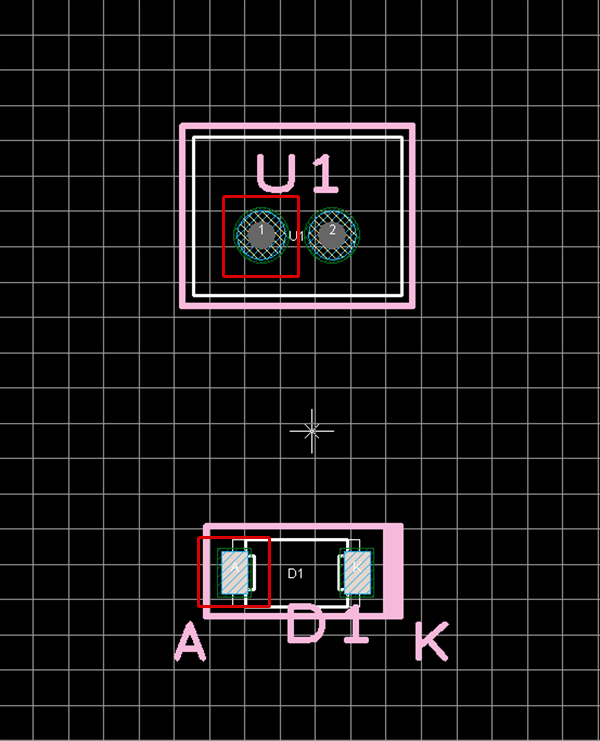
Click the connection source pad. |
| (3) |
Double-click the connection source pad. |
| |
* It is also possible to make connections by clicking and determining it by double clicking. |
|
 |
| (4) |
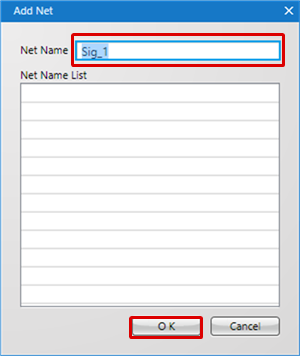
Input a Net Name and then click "OK". |
|
 |
| |
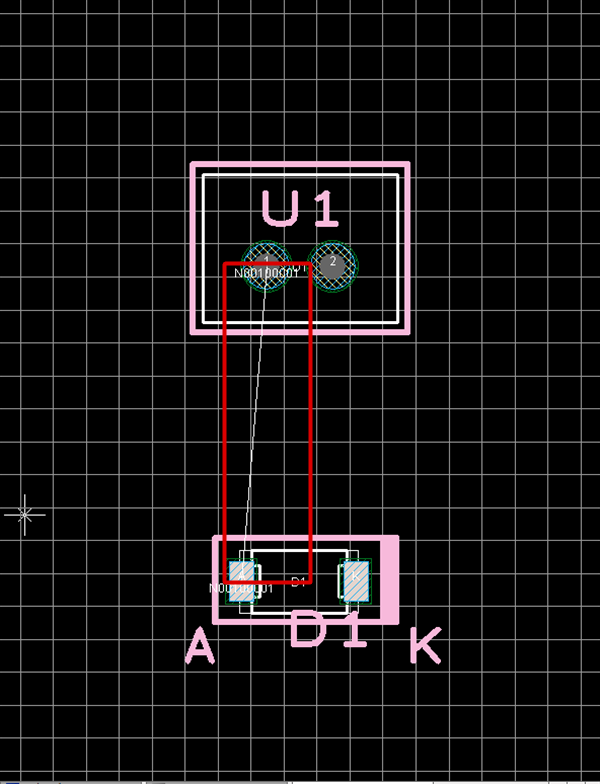
The Net is added and Rats is displayed. |
|
 |
Each Operation when Adding a Net
The following will explain each operation for adding a net.
Selecting the Add Net Menu
Exiting Add Net Mode
Selecting the Add Net Menu
Select [Create PCB] => [Add Net].
There are several other ways to perform this. Refer to About Executing Menus.
Exiting Add Net Mode
The following is the operation for exiting Add Net mode.
Right click, Select => [Cancel].
* Press "Escape" on the keyboard.
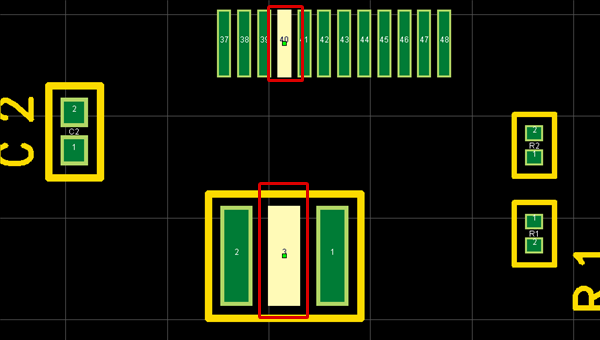
| The following will explain how to add a Net by specifying a Net Name to an Object. |
| (1) |
Select the connection source pad and connection destination pad. |
|
 |
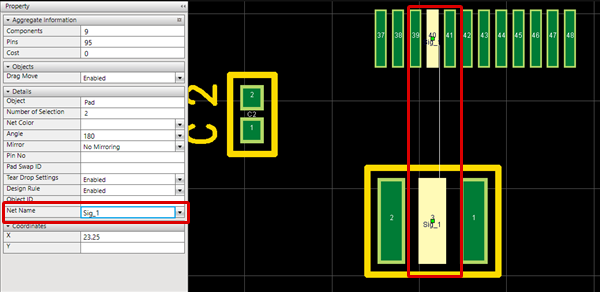
| (2) |
From the Property Window, set the Net Name and determine it using Enter. |
| |
The Net is added and Rats is displayed. |
|
 |

