

PCB Layout CAD : Draw
Inserting Images
It is possible to insert image data onto documents. This is used for tracing, etc.
The following are the types of data that can be inserted.
BMP files (*.bmp)
JPEG files (*.jpg; *.jpeg)
PNG files (*.png)
GIF files (*.gif)
TIFF files (*.tiff; *.tif)
The following will explain each operation for inserting images.
Selecting the Insert Image Menu
Inserting an Image
Rotating an Image
Mirroring an Image
Exiting Insert Image Mode
Selecting the Insert Image Menu
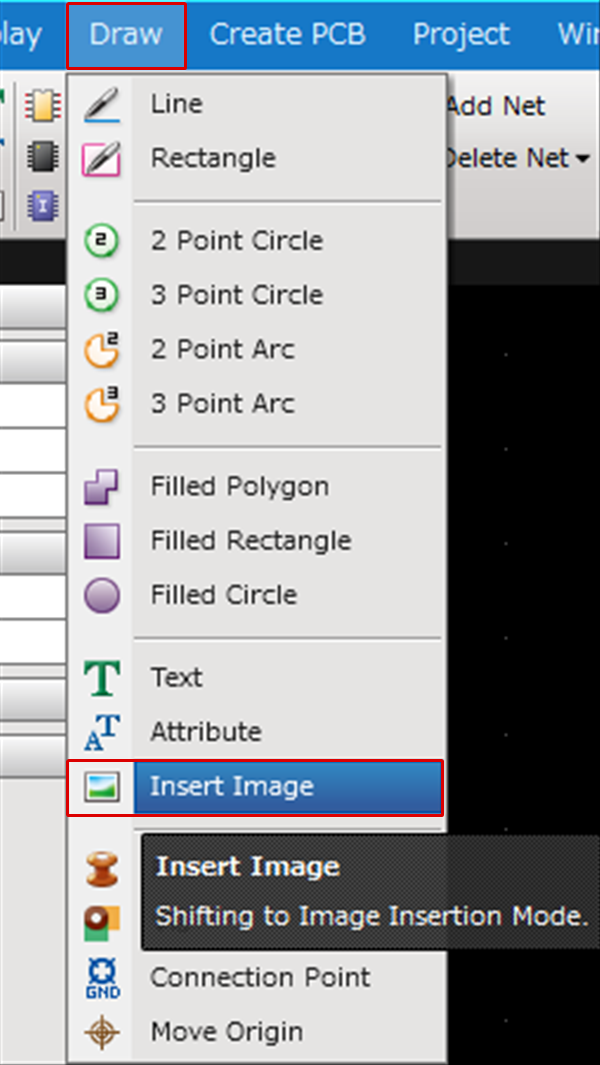
Select [Draw] => [Insert Image]
There are several other ways to perform this. Refer to About Executing Menus.
Inserting an Image
After selecting the Insert Image Menu,
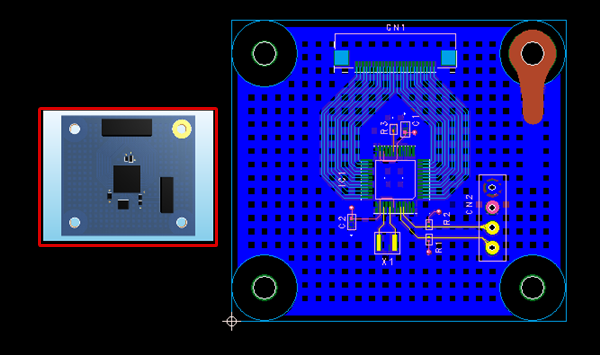
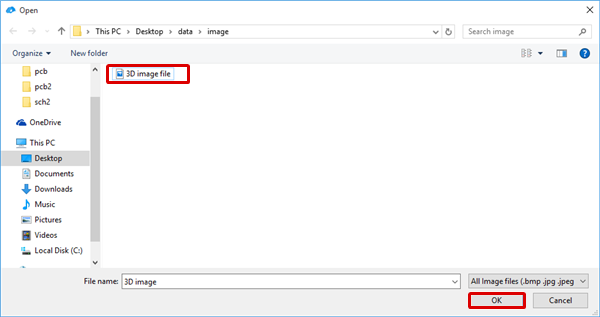
STEP 1: Select an image
STEP 2: Click the location where you want to place it
| Inserting an Image |
| The following will explain how to insert an image. |
|
|
|
 |
|
 |
Rotating an Image
While inserting the image, it rotates 90 degrees.
There are the following methods for rotating.
Method 1: [Right Click] => Select [Rotate]
Method 2: [Keyboard] => Press [R]
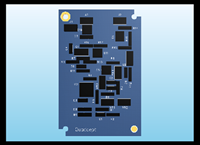
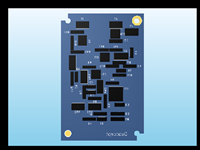
Rotate Example
| Before Rotate | After Rotate |
|
|
|

Rotation is 90 degrees to the left. There is also a Reverse Clockwise Menu.
Mirroring an Image
While inserting an image, it is mirrored.
There are the following methods for mirroring.
Method 1: [Right Click] => Select [Mirror]
Method 2: [Keyboard] => Press [M]
Mirror Example
| Before Mirroring | After Mirroring |
|
|
|
Mirror" is Left-Right mirroring. There is also a Flip Vertically Menu.
Exiting Insert Image Mode
The following is the operation for exiting Insert Image mode.
Right click, Select => [Cancel]
* Press "Escape" on the keyboard