

Schematic Capture : Wiring and Editing
Auto Wiring
Auto Wiring is an operation for performing auto wiring by avoiding obstacles such as components and wires by specifying the Start Point and End Point.
Leading is done automatically, so wiring work can be done very quickly.
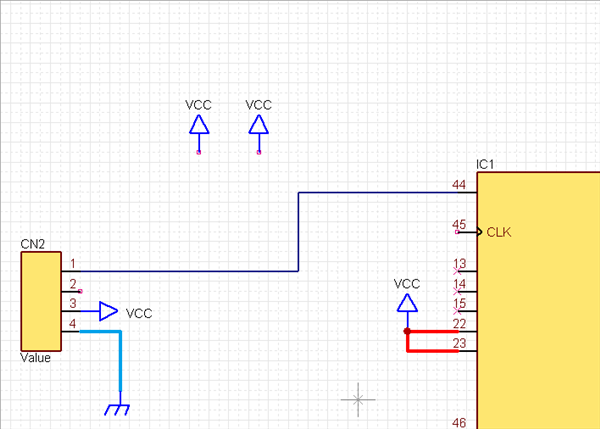
The following is an example of Auto Wiring.
Auto Wiring
| Before Auto Wiring | After Auto Wiring |
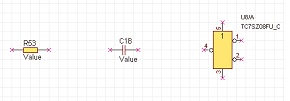 |
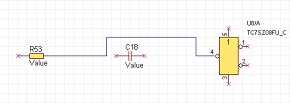 |
* For those who want to view the video in a larger screen setting:https://youtu.be/6brA69PeG5I
| Auto Wiring |
| The following will explain how to draw Auto Wiring. |
|
|
|
 |
|
 |
The Auto Wiring Start Point and End Point are limited to Pin Points, Wires, Buses, and Connection Points.
Each Operation for Drawing Auto Wiring
The following will explain each operation for drawing auto wiring.
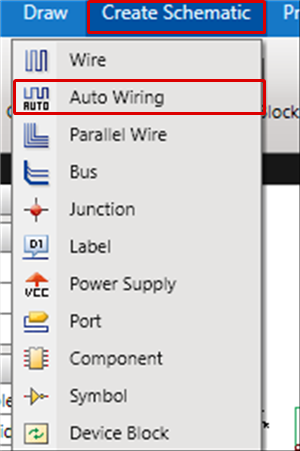
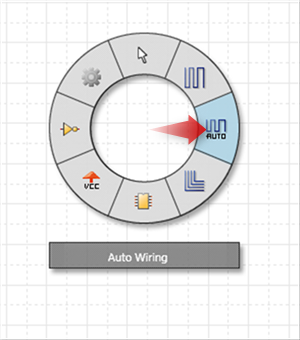
Selecting the Auto Wiring Menu
Canceling Auto Wiring
Exiting Auto Wiring Mode
Selecting the Auto Wiring Menu
Select [Create Schematic] => [Auto Wiring]
There are several other ways to perform this. Refer to About Executing Menus.
Canceling Auto Wiring
When creating auto wiring, it is possible to return to the status before drawing by canceling the auto wiring being created.
| Before Canceling | After Canceling |
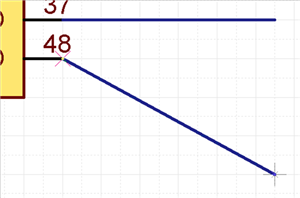 |
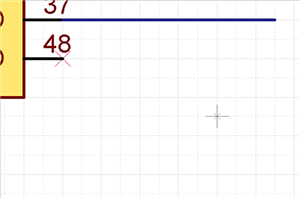 |
The following is the operation for executing pushback.
Right click, Select => [Cancel]
* Press "Escape" on the keyboard
Exiting Auto Wiring Mode
The following is the operation for exiting Auto Wiring mode.
When not creating auto wiring,
Right click, Select => [Cancel]
* Press "Escape" on the keyboard