

Quadcept : Creating Footprints
Extra: Configuring the Assembly Area and Height
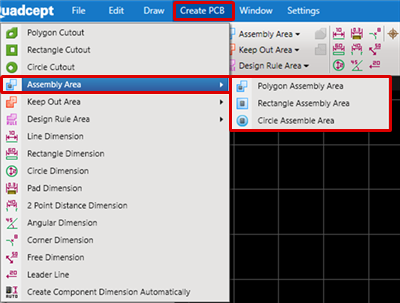
An assembly area can be specified when creating a footprint. If you do not specify the area, it will be automatically set based on the position of silk and pad objects in a footprint.
| Configuring an Assembly Area |
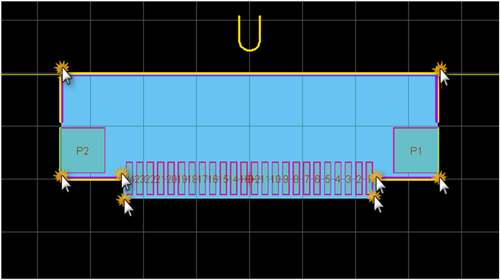
| The following will explain how to specify an assembly area. |
|
 |
|
 |
|
 |
|
 |
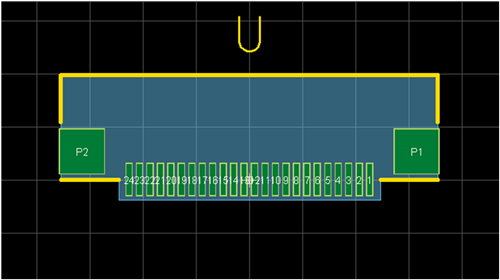
The assembly area is a DRC error target for the Keep Out Area, which has a Height Limit.
Height information is reflected for performing Export IDF.