«
Select
|
Changing Shapes
»
PCB Layout CAD : Edit
Moving
The following will explain how to move an object that has already been placed.
The following is the method for moving an object.
Method 1: Drag Move an object
Method 2: After selecting an object, move it using the "Enter" key
Method 3: After selecting an object, Drag Move using the object's selection handle( )
)
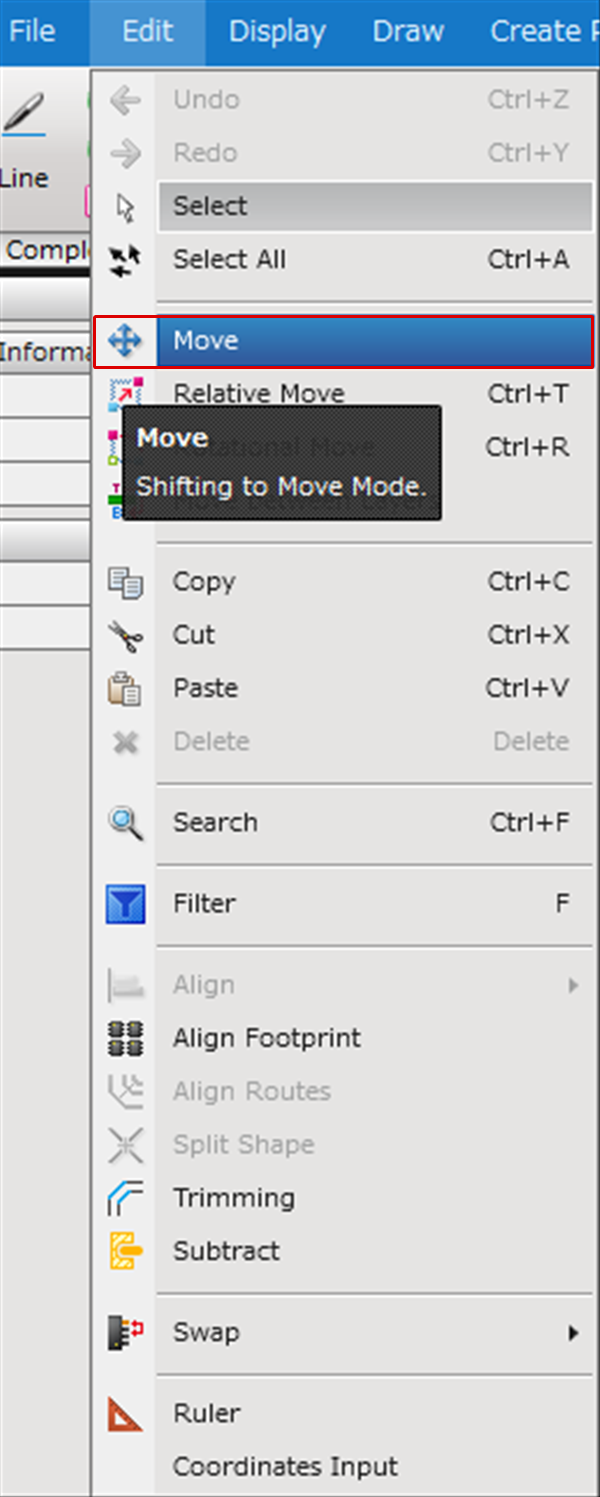
Method 4: Moving in Move Mode
For more details about moving routes, refer to Editing Routes.
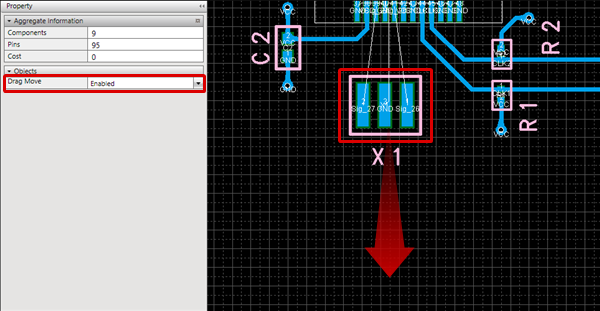
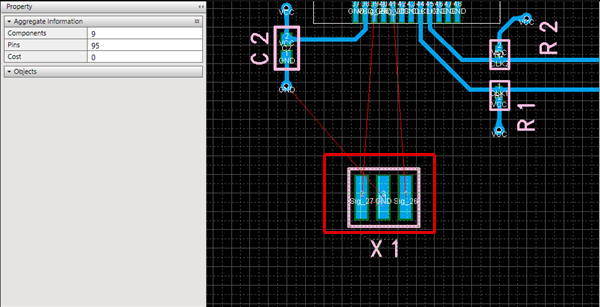
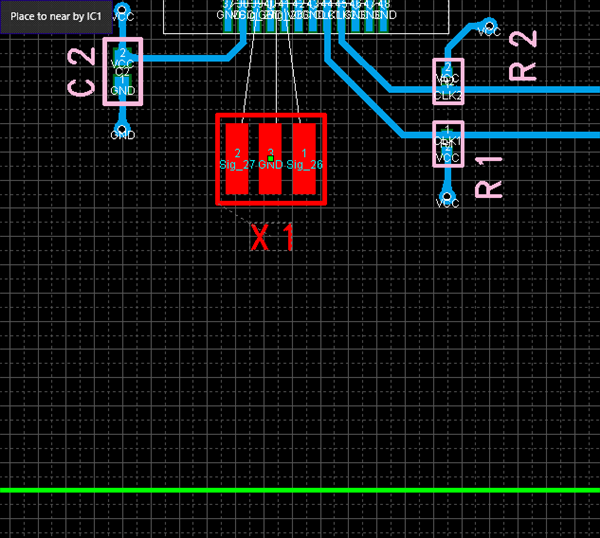
| Drag Move |
| This is the simplest method for moving. (* Only when the "Drag Move" option in the Property Window is enabled) |
|
 |
|
 |
|
 |
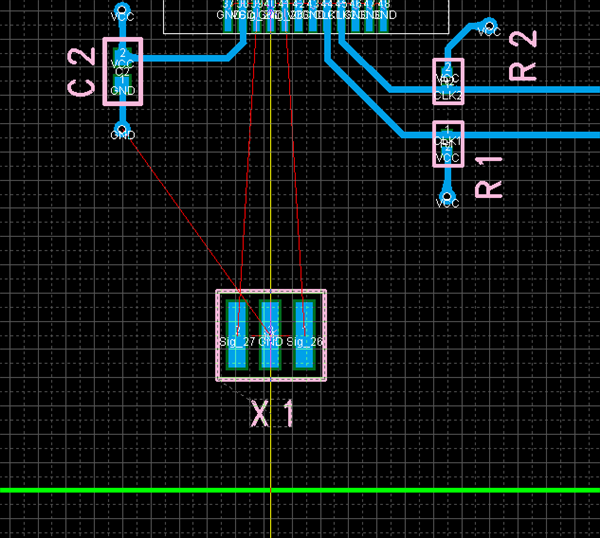
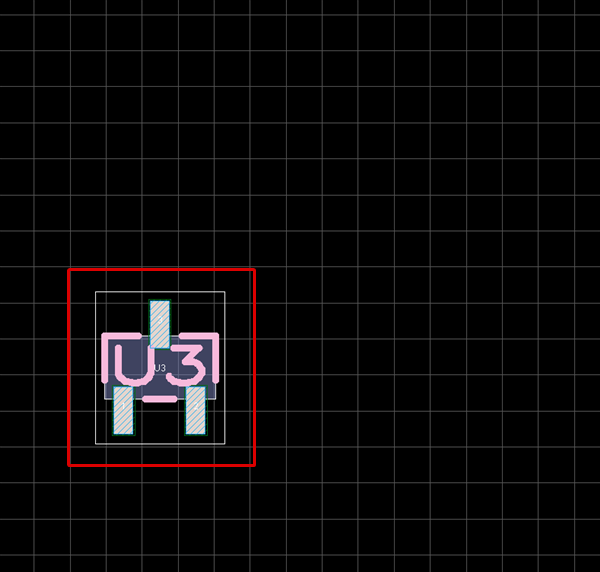
| Select an Object, and press the "Enter" key. |
| Select an object and it changes to Move mode. |
|
 |
|
 |
|
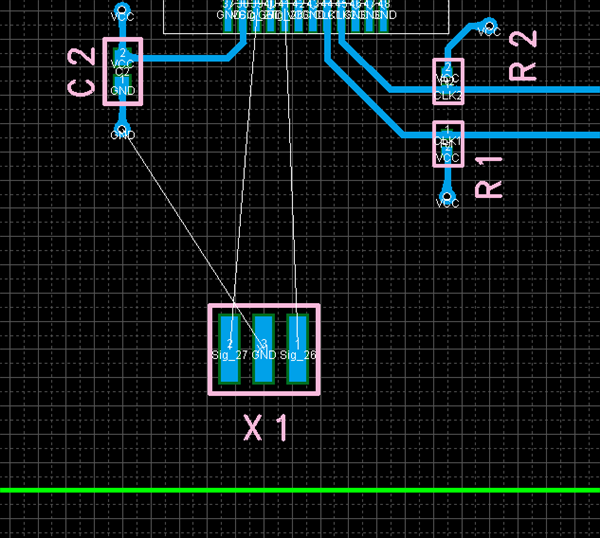 |
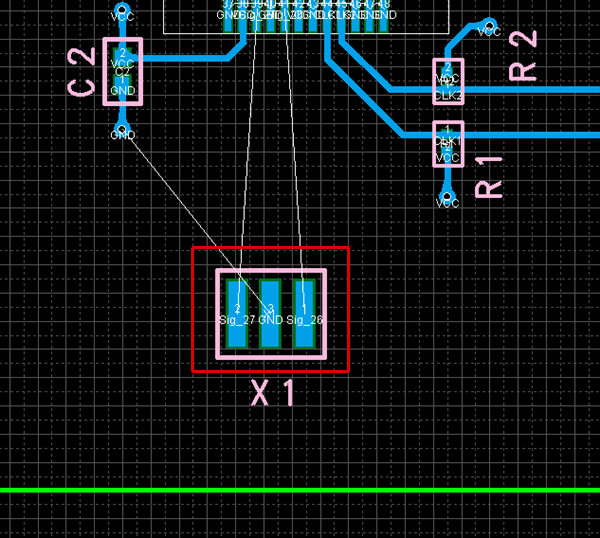
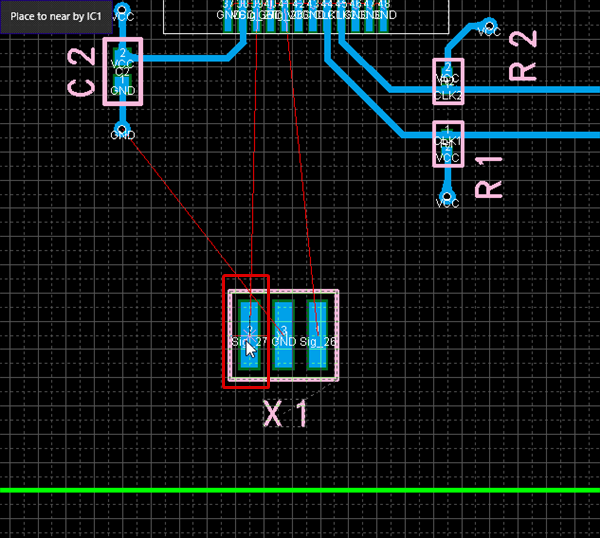
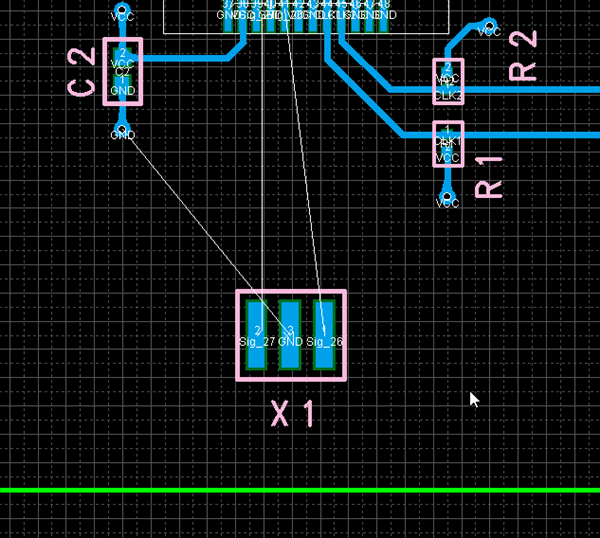
| Click and select an object, and Drag Move the selection handle to object Origin Point. |
| This is the method for moving according to the object Origin Point. |
|
 |


|
 |
|
 |
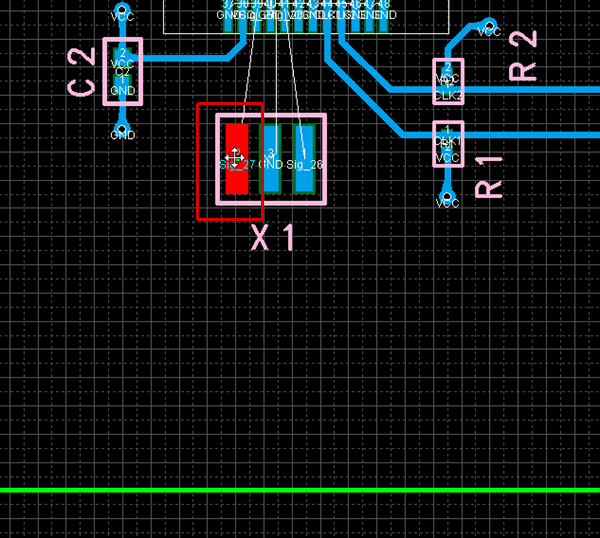
| Moving in Move Mode |
| This is the method for executing Move repeatedly in Move mode. |
|
 |
|
 |
|
 |
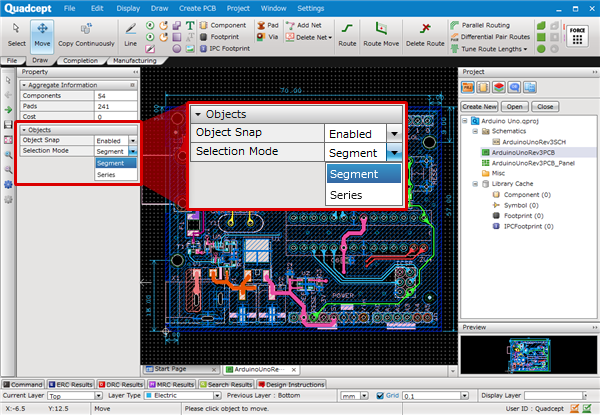
The Selection Mode control in the Property window allows you to specify the mode to select the routing objects.
* Segment : A single selected object.
* Series : A series of route segments, i.e., all the contiguous routes until a via, a component pad or junction is encountered.